National Institute of Mass Communication & Journalism, Ahmedabad
( Affiliated to Gujarat University )
( Affiliated to Gujarat University )

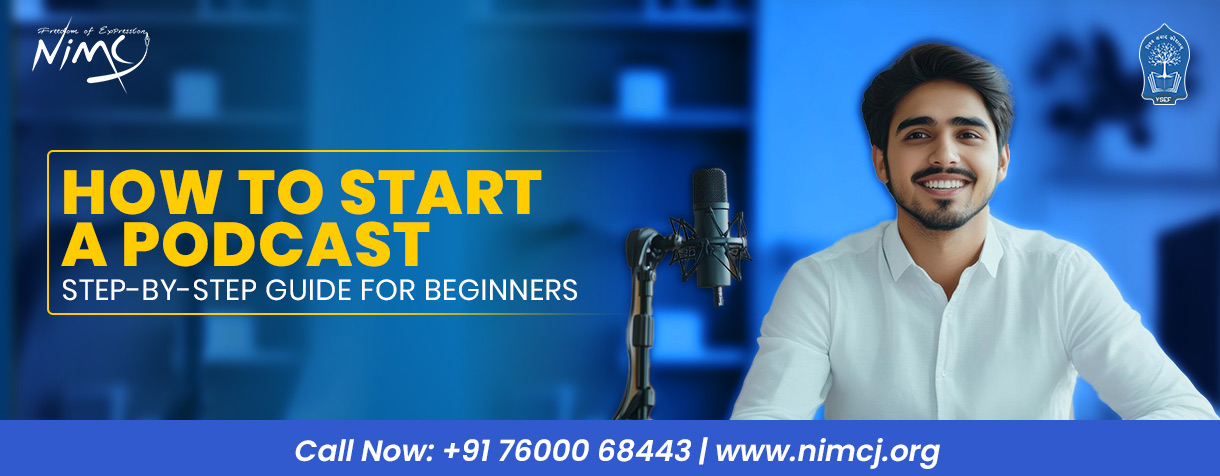
Starting a Podcast in 2026 is one of the most accessible and rewarding creative decisions you can make. Whether you want to share knowledge, build a brand, explore journalism, or simply tell stories, podcasting gives you a platform that is entirely your own. However, most beginners do not know where to start. This step-by-step guide covers everything, from choosing your topic to publishing your first episode and growing your audience.
A podcast is an on-demand audio programme, typically released in episodes, that listeners can stream or download on their phone, laptop, or smart speaker. Think of it as a radio show that your audience can listen to anytime, anywhere, on their terms.
The global podcasting landscape has grown dramatically. Today, over 500 million people listen to podcasts worldwide, and that number keeps rising. In India specifically, podcasting has surged as affordable smartphones and regional-language content have opened the medium to entirely new audiences.
Also, podcasting is not limited to one industry or type of creator. Journalists, educators, entrepreneurs, filmmakers, students, and everyday storytellers all use it effectively. Therefore, regardless of your background, a podcast can serve your goals.
Before you touch any equipment, you need clarity on two things: what your podcast is about and why you are creating it.
Start by answering: why do I want to start a podcast? Your answer shapes every decision that follows. For example, a journalism student might want to practice interview skills and build a portfolio. A small business owner might want to attract clients. A travel enthusiast might simply want to document their journeys.
Next, choose a specific topic. Niche podcasts consistently outperform broad ones. A podcast about "media careers in India" attracts a much more engaged audience than one about "careers" in general. A useful test is to list ten potential episode ideas for your chosen topic. If you struggle to reach ten, reconsider your topic.
Also, research your competition. Search your topic on Spotify and Apple Podcasts. Listen to two or three episodes of similar shows and ask yourself what angle you could take differently. That gap is where your podcast belongs.
Finally, name your podcast clearly. Your name should tell a listener exactly what to expect. Avoid abstract or overly clever names that require explanation. Simplicity and specificity win every time.
Once your topic is clear, decide on the structure your show will follow. This is your podcast format, and it affects how you plan, record, and edit each episode.
The most common formats are solo commentary, where you speak directly to the listener; interview-based, where you bring in guests; cohosted conversations between two or more regular hosts; and narrative storytelling, where episodes follow a scripted, documentary-style approach.
Interview podcasts are ideal for beginners because they shift some of the creative burden to the guest. Solo formats require more confidence but are easier to schedule and produce. Choose the one that matches your energy and available resources.
Episode length is equally important. Research consistently shows that 20 to 40 minutes is the most common and comfortable duration for listeners. However, the right length is ultimately determined by your content. A news podcast might run 10 minutes. An in-depth interview might run 60. Make your episodes as long as they need to be, not longer.
Also, decide your publishing frequency early. Weekly is the most recommended cadence for building audience habits. However, a consistent fortnightly schedule is far better than an irregular weekly one. Consistency matters more than frequency.
Good audio quality is the single most important technical factor in podcasting. Listeners will forgive a basic visual setup but will quickly leave a show with poor sound.
Your microphone is the most critical piece of podcast equipment you will buy. For beginners, a USB dynamic microphone is the most practical starting point. Dynamic microphones are less sensitive to background noise compared to condenser microphones, which makes them better suited for home recording environments.
Popular beginner-friendly options include the Samson Q2U, which costs around Rs. 5,000 to Rs. 6,000, and is widely regarded as the best value entry-level podcast microphone globally. It connects via both USB and XLR, giving you room to upgrade your setup later without replacing the microphone itself.
For those ready to invest more, the Rode PodMic and the Shure SM7B are professional choices used by some of the world's largest podcasters. However, a quality mid-range microphone is more than sufficient for most beginners.
Closed-back headphones are essential for monitoring your audio while recording. They prevent microphone bleed, where the sound from your headphones leaks back into the recording. The Audio-Technica ATH-M20x is a reliable, affordable option.
A pop filter or foam windscreen, placed in front of the microphone, reduces harsh plosive sounds created by letters like "P" and "B." These cost very little but make a noticeable difference in audio clarity.
Your recording space matters as much as your equipment. Record in a small room with soft surfaces. Curtains, carpeted floors, bookshelves, and cushioned furniture all absorb sound and reduce echo. Avoid large, bare rooms with hard walls and floors, as they create unwanted reverb.
Once your equipment is ready, you need software to record and shape your audio.
For recording remote interviews, Adobe Podcast (formerly Enhance Speech) is one of the best free tools available in 2026. It records each participant's audio locally and provides AI-powered noise reduction. Zoom is another widely used option, though its default audio compression is lower quality. Always enable "original sound" in Zoom settings for the best results.
For editing, Audacity is the most popular free option and is available on Windows, Mac, and Linux. It offers professional-level tools including noise reduction, equalisation, and multitrack editing. GarageBand is an equally capable free alternative for Mac users and is generally considered easier for beginners.
If your budget allows, Descript is a premium tool that lets you edit audio by editing a transcript, essentially treating your podcast like a text document. This dramatically reduces editing time, particularly for long interview recordings.
Also, consider Adobe Audition if you are already using other Adobe products. It integrates well with the broader Creative Cloud workflow, which is especially useful for journalists and media students working across audio and video.
Before recording, prepare an outline or script. Even a simple list of five talking points prevents unnecessary rambling and keeps your episode focused. If you have a guest, share the outline in advance so both of you are aligned.
Position your microphone two to four inches from your mouth, slightly off-axis. Speaking directly into the microphone increases plosive sounds. A slight angle gives you cleaner audio with less editing needed afterward.
Do a short test recording of thirty seconds first. Play it back and listen for background noise, echo, or audio clipping. Fix these before recording the full episode.
When editing, always do two passes. In the first pass, focus on content, removing sections that are off-topic, repetitive, or too long. In the second pass, focus on audio quality, removing background noise, long silences, and any unwanted sounds. Add a brief intro and outro with royalty-free music to give your episode a polished, professional feel.
Export your final audio as an MP3 file at 128 kbps for solo or interview podcasts. This gives you a good balance between file size and audio quality.
Your podcast cover art is what a new listener sees before they ever hear your voice. It functions like a book cover, and it directly influences whether someone clicks or scrolls past.
Cover art should be square, ideally 3000 x 3000 pixels, and saved as a JPEG or PNG file. Keep the design simple, use your podcast name clearly, and limit yourself to two fonts. Canva offers free podcast cover art templates that are easy to customise. Adobe Express is another strong free option.
Show notes are written summaries that accompany each episode in podcast directories. Good show notes improve your SEO, help listeners decide whether an episode is relevant to them, and give search engines something to index. Write at least two to three sentences summarising what each episode covers, and include any relevant links mentioned during the recording.
A podcast hosting platform stores your audio files and generates an RSS feed, which is the technical link that allows your show to be listed across different podcast apps and directories.
Popular podcast hosting platforms include Buzzsprout, Anchor (now Spotify for Podcasters), Podbean, and Captivate. Each has different pricing models and features. Spotify for Podcasters is entirely free and is a strong starting point for beginners. Buzzsprout offers a 90-day free trial and is well regarded for its ease of use and analytics.
When setting up your hosting account, fill in your podcast title, category, description, and upload your cover art. These details determine how your show appears across directories, so spend time getting them right. Use relevant keywords in your description to help new listeners find your show through search.
Once your hosting is live and your first episode is uploaded, submit your podcast to the major directories. This is how listeners find you.
Spotify holds the largest share of podcast listeners globally. After Spotify, Apple Podcasts is the second most important directory. Both are free to submit to and take anywhere from a few hours to 24 hours for initial approval.
Beyond these two, also submit to Amazon Music, Google Podcasts, iHeartRadio, and Podcast Index. Most hosting platforms offer one-click submission to multiple directories simultaneously, which significantly simplifies this process.
Publishing your first episode is the beginning, not the finish line. Growth requires consistent effort both inside and outside the podcast itself.
Share each episode on social media platforms where your target audience spends time. Instagram Reels and YouTube Shorts with short audio clips from your episodes consistently drive new listeners. Also, create a short audiogram, which is an animated video with your audio waveform and a quote from the episode, using free tools like Headliner or Canva.
Reach out to other podcasters in adjacent niches for cross-promotion opportunities. Guest appearances on established shows remain one of the fastest ways to reach new, pre-qualified listeners.
Encourage listeners to leave reviews on Apple Podcasts and Spotify. Reviews improve your ranking in directories and build social proof for new visitors considering your show.
Finally, publish consistently. An audience cannot build around a podcast that appears unpredictably. Decide your schedule, commit to it, and treat each episode like a professional publication regardless of how small your audience is today.
Podcasting is no longer just a hobby. It is a recognized media skill being actively recruited for across newsrooms, digital agencies, and content studios. At NIMCJ, Podcast Production is one of the 25 Pioneer Media Skills included in the BAJMC (Hons) and MAJMC curriculum, taught by working industry experts rather than generalist instructors.
If you are serious about building a career in audio journalism, content creation, or digital media, a professionally structured programme gives you far more than a microphone and a hosting account. It gives you the storytelling instincts, production discipline, and industry connections that self-learning alone rarely delivers.
NIMCJ doesn't just teach podcasting in theory. Students go through the complete podcast production process hands-on, from concept and scripting to recording, editing, and publishing. What makes it even more valuable is that students get the opportunity to host and record podcasts with well-known guests from various industries, building real confidence and professional experience in the process.
These student-created podcasts are also published on YouTube, giving every student a live, public portfolio that employers and media organisations can watch and evaluate. That kind of real-world exposure is difficult to replicate through self-study alone.
Watch our students' podcast series here: NIMCJ Student Podcast Playlist
BAJMC (Hons) and MAJMC Admissions for 2026-2027 are now open at NIMCJ.
01 Jul 2026
Post by : NIMCJ